9: Map Settings
![]() To display the map settings screen, touch
the "map and gear" button. The top part of the screen is used to change the appearance of the topo map
display.
To display the map settings screen, touch
the "map and gear" button. The top part of the screen is used to change the appearance of the topo map
display.
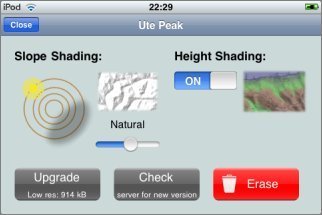
Slope Shading
Slope shading is the 3D effect that is applied on top of the map to emphasize relief. The app computes this using terrain data that it downloads when the maps are installed. Using controls on the map settings screen you can change its appearance:
- You can rotate the sun and shade around the hill to set the direction of the simulated sunlight. Apparently most people see the 3D effect most effectively if the light comes from the top left (NW), even though this is not a direction from which sunlight ever comes in the Northern hemisphere. If you move the sun to the South you'll see more realistic shading, which could be useful to determine which routes will be most sunny.
- The slider allows you to adjust the strength of the shading. If you slide it to the left it is disabled. Positions in the middle are appropriate for mountainous terrain. In flatter areas you can move the slider to the right to exaggerate the shading.
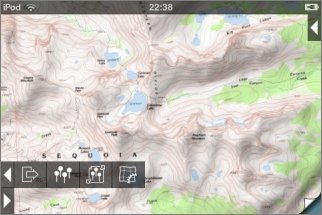
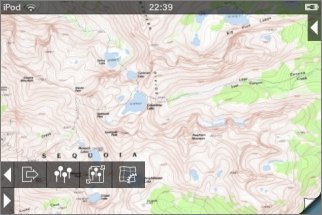
This map uses the default shading settings:
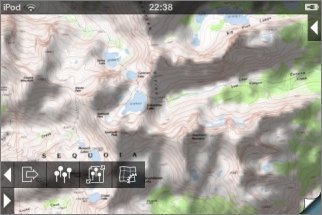
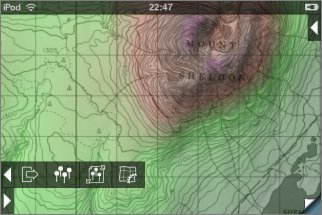
Here the strength has been increased:
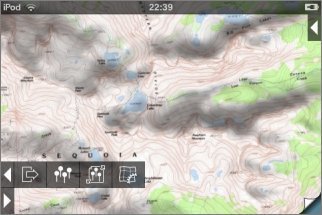
Here the sunlight direction has been moved to the South:
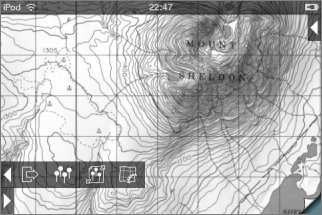
For comparison, here's the same map with slope shading disabled:
The slope shading is updated after you close the map settings window; this may take a moment.
The height data used to compute the slope shading has a horizontal resolution of only about 300 feet, so the results are not very precise. Slope shading is most useful when you're viewing a map zoomed out so that the contour lines are not easily visible. The alignment of the shading data with the base map also seems to be poor in some areas, and there are occasional artifacts such as false grooves and ridges.
Height Shading
Height shading is controlled by a switch on the map settings screen. When it's enabled, the base map is converted to monochrome and a color tint based on height is applied:
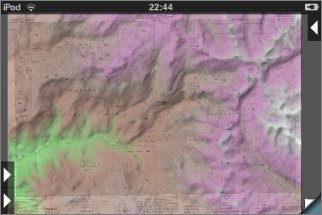
This is useful primarily when viewing a zoomed-out map, to get an overview of an area. It's also useful for those maps in Northern Canada that are published in monochrome:
As with the slope shading, the resolution of the data is limited and it may take a moment for the effect to appear after you close the map settings screen. The spectrum used is adjusted depending on local minima and maxima, but in flat terrain it will still appear, well, flat.
The map settings screen also provides some buttons for managing the installed maps.
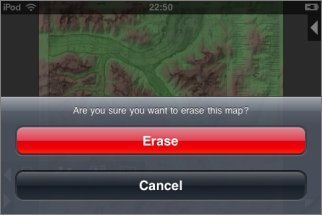
Erasing Maps
To erase a map, touch the red "Erase" button. You'll be prompted for confirmation. If you're viewing a mosaic, it will offer to erase all of the maps in the mosaic.
Upgrading and Downgrading
If you installed the low-res version of a map you can upgrade to the high-res version by touching the "Upgrade" button on the map settings screen. You can also downgrade to low-res if you need to free some space on your device. If you're viewing a mosaic, the app will offer to upgrade or downgrade all of the maps in the mosaic:
The upgrade/downgrade button also shows the amount of space currently taken up by the map (or maps).
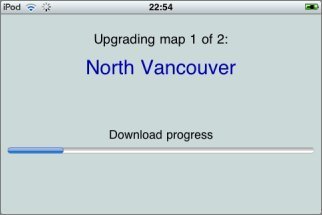
Checking for New Versions
From time to time we may make new versions of maps available on the server. Normally this will be announced on this site's news page. You can check to see if a new version of a map is available, and install it if it is available, by touching the "Check" button on the map settings screen.
Beware, however, that this function will sometimes be subject to false positives: it may report that a new version is available and spend time downloading it when it is not in fact newer than what you currently have. This is most likely to occur if your initial download required the additional installation step. In this case, the replacement version is likely to look identical to your previous version but will consume less storage space.