2: Installing Maps
The Index Maps
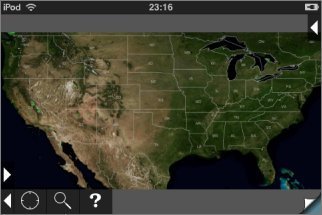
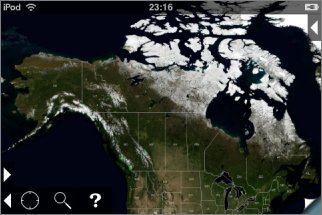
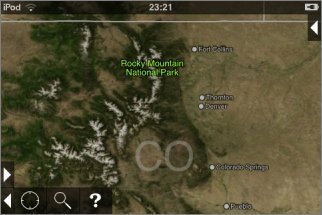
There are four index maps covering the contiguous U.S., Canada and Alaska, Hawaii, and Puerto Rico and the U.S. Virgin Islands:
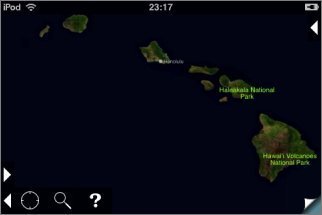

To navigate between them, zoom out and scroll to the edge; an arrow button will appear.
Each map has a satellite image as a backdrop, with state boorders and abbreviations superimposed. As you zoom in, various additional information will appear including national parks and major cities (population greater than about 100,000 in the U.S.):
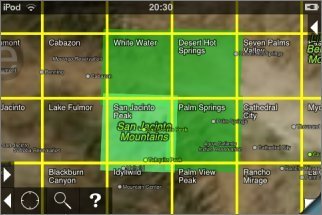
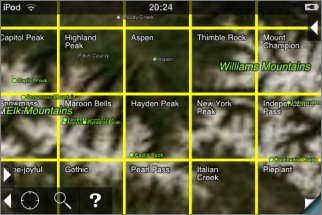
Zooming in further, additional features including state parks, national wildlife refuges, significant peaks, lakes and rivers, and smaller towns and cities are shown. Also, the yellow grid of maps is shown:
Selecting Maps
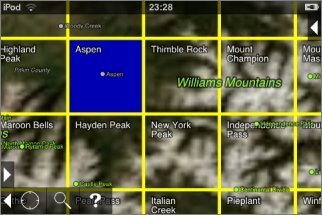
To select a single map to be installed, simply touch it for about half a second without moving your finger. The map will be shown in blue:
To select a block of maps to install:
- Arrange the screen so that all the maps you want to install are visible.
- Touch one of the corner maps until it is selected but do not lift your finger.
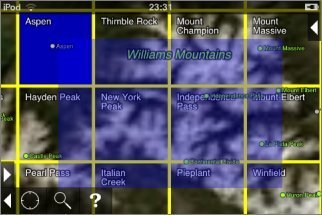
- Slide your finger towards the opposite corner of the block of maps. A blue rectangle will be shown as you do so:
- Lift you finger, and all of those maps (fully or partially covered) will be selected.
In a few areas, maps overlap. This happens mostly in Alaska, where 1:24,000 maps often overlap with 1:63,360 maps, and on the Canada-Alaska border. In these areas, to select the map that you want, zoom in and carefully touch at the center of the correct map's yellow box.
High and Low Resolution Maps
Once you've selected a map or group of maps, you'll be asked whether you want a "Quick Install" or a "Full Install":
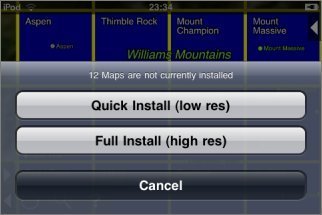
"Quick Install" downloads a lower-resolution version of the map, and is typically about ten times faster than "Full Install". It also takes much less space on your device. Generally, the low-resolution maps are good for trip planning, or to check that you have the right map, but the high-resolution versions are needed for navigation: each pixel in the low-resolution maps covers 16 pixels on the high-resolution map. The actual resolution in pixels per mile varies from place to place.
If you chose to install a low-resolution map, you can later upgrade it to high-resolution. This upgrade process only needs to download the difference between the two versions, so you don't waste any download time by downloading a low-resolution version and then upgrading.
The app limits the number of maps that can be downloaded at once to 20 high-resolution maps or 100 low-resolution maps. There is no limit to the total number of maps that you can install (except the amount of storage available on your device); these limits are purely on the number that can be downloaded in one operation.
Installation
Having selected a map and chosen the resolution, this screen will be shown as the map or maps are downloaded:
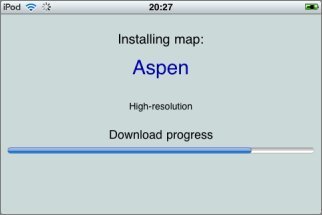
Downloads will continue in the background for a short time if you switch to another app or put the device to sleep; however, Apple limits this to about 3 minutes.
Download time depends on the speed of your network connection. WiFi may be faster than a cellular connection, but then again it might not. Full-resolution maps are typically around 10-20 MB, or up to 40 MB for the larger Canadian maps.
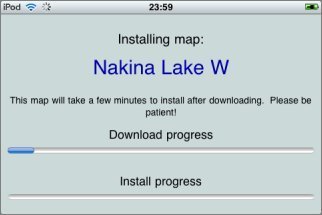
Most maps come from our own high-speed servers and are ready for use as soon as downloading has finished. For about 1% of downloads in less popular areas the maps come from different servers, with two consequences. Firstly, these other servers may be slower. Secondly, an additional installation step (for file format conversion) is required when the download has completed. In this case a second progress bar is shown:
Done
Back on the index map, sheets that have been installed are shown in green. Low-resolution "Quick Install" maps are shown in a darker shade than high-resolution "Full Install" maps: